What emails will attendees automatically receive?
- Order confirmation email: Sent when an attendee completes their order or registration.
Learn how to customize an order confirmation email.
- Refund confirmation email: sent when a refund is issued for a paid order
Learn more about issuing refunds to an event registrant.
Prevent attendees from sharing tickets
Prevent attendees from sharing tickets for in-person events by using the check-in feature.
Learn more about check-in for event attendees
Learn more about printing a check-in list
If you check in attendees by name, consider updating your event to collect information for each attendee. That way, every ticket has a different name on it.
Learn more about setting up collecting additional information from attendees.
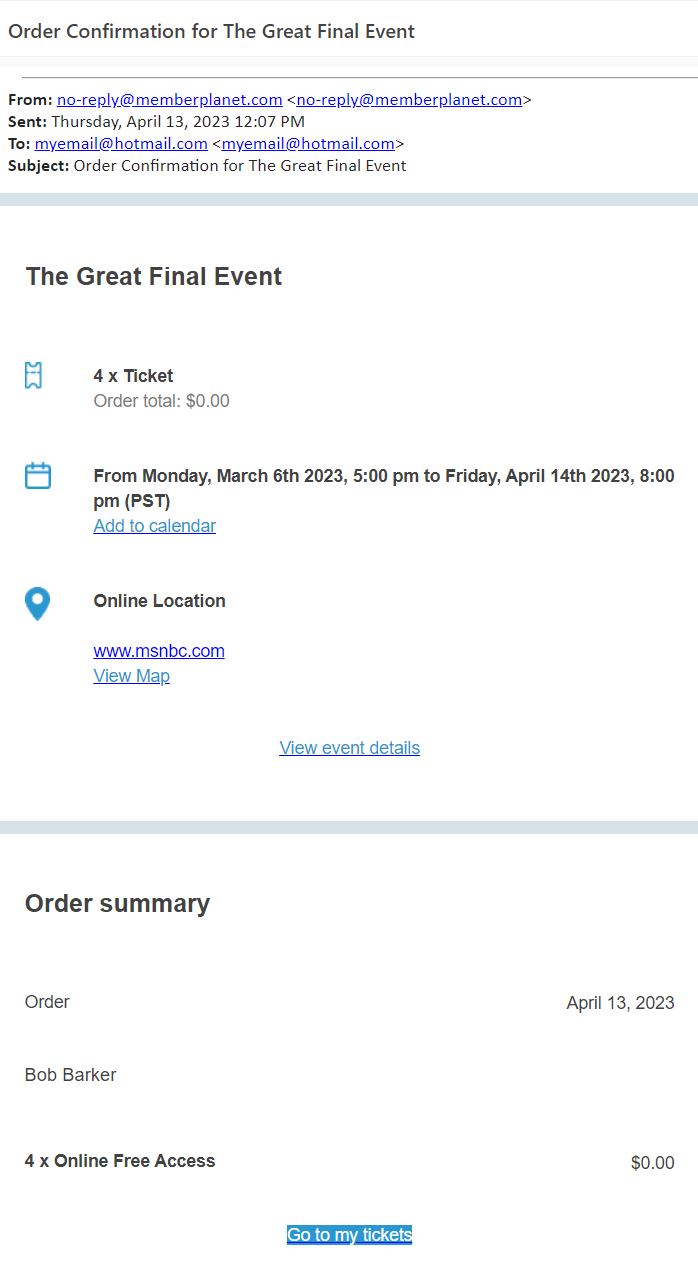
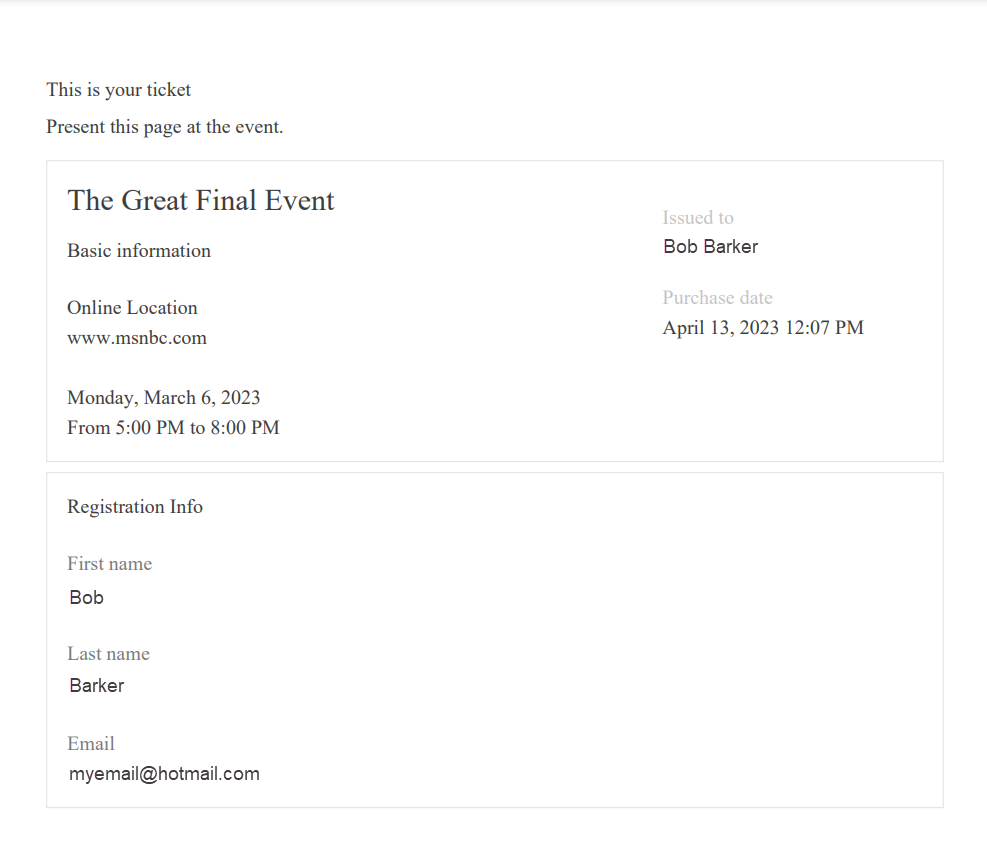
What do memberplanet tickets and confirmations look like?
- Order Confirmation Example
- Event Ticket Example
Check in attendees from your computer
- In the left-hand navigation bar, select Events
- Click on the event name
- Scroll down to the Reporting & ticket management section and select Reports
- Select the Ticket Check-ins report
- Use the Search within the report to show the person you would like to manually check-in
- Select the check-in option to complete manual check in
- A check will be entered under Check-in status and the check-in time and the name of the person checking them in will be entered.
Print a check-in list
- In the left hand navigation bar, select Events
- Click on the event name
- Scroll down to the Reporting & ticket management section and select Reports
- Select the report you would like to print from the Check-ins & fullfillment Reports
- Select Export to export to excel
Once your report has been exported, you can then print from Excel
How to see all of your event's financial information
- In the left-hand navigation bar, select Events
- Click on the event name
- Scroll down to the Reporting & ticket management section and select Reports
- From the Sales reports, select the report you would like to view
- Ticket Detail
- Add-on Detail
- Ticket & Add-on Detail
- Order Summary
- Scroll to the far right to view purchases purchase total, fees, and transferrable.
View event reports
- In the left-hand navigation bar, select Events
- Click on the event name
- Scroll down to the Reporting & ticket management section and select Reports
- Select from available reports to view
See promotion code usage
- In the left hand navigation bar, select Events
- Click on the event name
- Scroll down to the Reporting & ticket management section and select Reports
- Select Order Summary Report from the Sales reporting section
- Scroll to the far right of the report to view whether a coupon was used for a ticket purchase
- The name of the coupon will display when a coupon is used
Export your event order data
- In the left-hand navigation bar, select Events
- Click on the event name
- Scroll down to the Reporting & ticket management section and select Reports
- Select Order Summary Report from the Sales reporting section
- Edit the date filter to display the data you would like to export
- Select the Export button in the upper right hand corner to export the report to Excel
View and export an Orders report
- In the left-hand navigation bar, select Events
- Click on the event name
- Scroll down to the Reporting & ticket management section and select Reports
- Select Order Summary Report from the Sales reporting section